Set up your sites, areas and storage locations in one structure, and use it to receive, store, move and count your inventory.
Overview
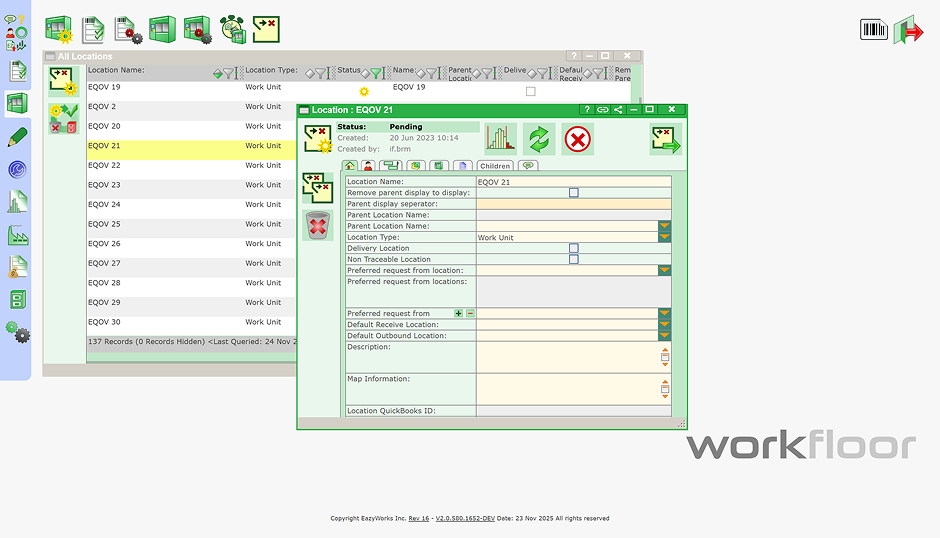
Locations are set up as a hierarchy. Each location has a type, from enterprise and site down to storage zone and storage unit, and a parent location above it.
The same locations are used across Inventory: you pick from them when you receive, put away, move, count and request parts.
Capabilities
Location types run from enterprise, site and area down to storage zone and storage unit. Each location has a parent.
Give a warehouse a default receiving location. Received inventory waits there until it is put away.
Move received material to its final storage zone or unit in two stages: reserve the destination first, confirm once it has arrived.
Relocate parts from one storage location to another: pick them, choose the destination and confirm arrival.
Count a location with a full, cycle or spot count. Differences with the recorded quantity are worked out for you.
Export your locations to Excel, edit them in bulk and sync the file back to create or update locations.
How it works
Step 1
Create each location with a type and a parent, one by one in the location form or in bulk from an Excel file.
Step 2
Received inventory arrives at the warehouse's default receiving location and waits there.
Step 3
Choose the storage zone or unit for each item, then confirm the move once the material has physically arrived.
Step 4
Relocate parts to another storage location when needed, and count a location to reconcile physical stock with the recorded quantities.
Related
Locations is one of the Asset Management modules. Work Orders and Reservations are two of the others.

